BLOG
How to Have Fresh Herbs Year Round
When Spring and Summer roll around, fresh produce abounds. Between farmer’s markets and personal gardens, it is easy to get your hands on the freshest ingredients for your home cooked dishes. Those resources become smaller come Winter, but that does not mean you have to sacrifice fresh flavor!
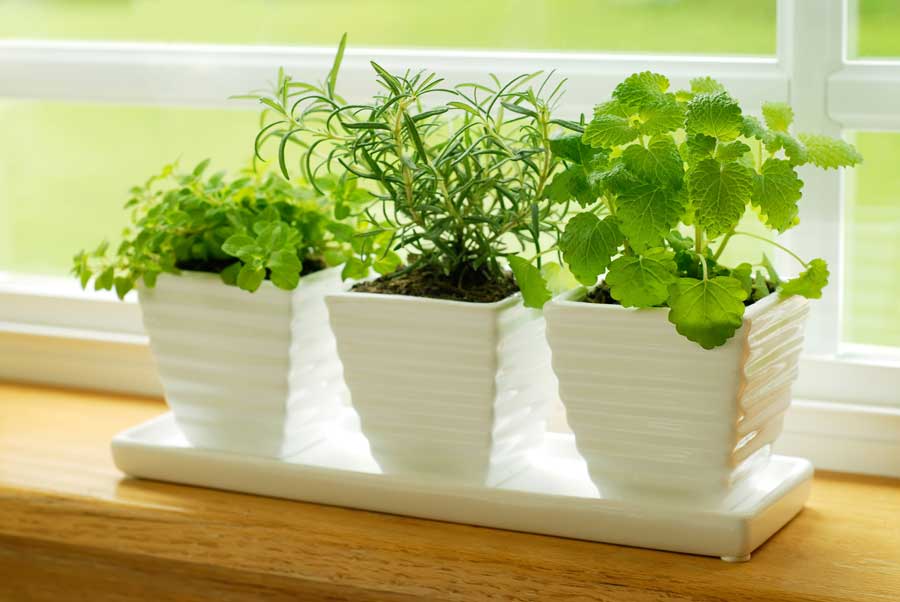
Energy Smart New Homes is all about saving your money and using less resources. One way you can do both those things while having beautifully aromatic dinners is by creating a windowsill herb garden. Here’s how to get started.
1: Survey the Land
In order for herbs to produce the best flavors and growth, they will need about 6 hours of bright light a day. Take notice of what kind of light you receive from your windows. A South or Southwest facing window is going to be your best candidate for your garden. Be careful to not allow herb leaves to touch windows during colder months. They can be quite sensitive to temperature and prolonged exposure to the cold will damage them.
2: Gather Supplies
Now comes the fun part. You can either start your herbs from seed or buy small established plants. Just be aware that starting from seed will take a few months and some extra care to ensure the seeds succeed.
You can choose whichever herbs you favor, since your garden will be on the windowsill it may be wise to consider herbs that grow more compactly as opposed to tall and upright. Some good choices may include basil, mint, and rosemary.
Once you have picked out which herbs you want to grow, pick up containers for each one, preferably with drainage holes. If the container you choose does not have drainage holes, water will collect at the bottom near your plants roots which will inevitably rot your roots and kill your plant. Finally, you will need to select a potting mix. Do not use just any soil. You are going to want a seed starting potting mix or a basic houseplant mix. Adding a handful of perlite or orchid bark will make your mix airier which will help with proper drainage.
3: Plant
To pot up your little plant babies, fill one third of the pot with your potting mixture. Then place your plant in the middle and follow up by filling in the rest of the pot with your mix. Leave about an inch between the soil and the top of the pot. This way, when you water, dirt will not flow over and make a mess.
Once you have potted up your herbs, give them a good drink. It is a good habit to water the plant until you see water come out of the drainage holes. This way you know the soil has been thoroughly saturated. To check to see when you need to water again, just put your finger into the soil about an inch or two down. If it is dry, it’s time to water! If not, let your plant dry out a little while longer.
Tip: Herbs really enjoy being trimmed back. Snip bits off of your plants regularly to promote new growth.
And there you have it! With your own little windowsill herb garden, you can have bright pastas and bold flavored soups all year round, even in Winter.
By Energy Smart New Homes 12-5-2019
Recent:
Categories
Archive
Jan 2026
Dec 2025
Nov 2025
Oct 2025
Sep 2025
Aug 2025
Jul 2025
Jun 2025
May 2025
Apr 2025
Mar 2025
Feb 2025
Jan 2025
Dec 2024
Nov 2024
Oct 2024
Sep 2024
Aug 2024
Jul 2024
Jun 2024
May 2024
Apr 2024
Mar 2024
Feb 2024
Jan 2024
Dec 2023
Nov 2023
Oct 2023
Sep 2023
Aug 2023
Jul 2023
Jun 2023
May 2023
Apr 2023
Mar 2023
Feb 2023
Jan 2023
Dec 2022
Nov 2022
Oct 2022
Sep 2022
Aug 2022
Jul 2022
Jun 2022
May 2022
Apr 2022
Mar 2022
Feb 2022
Jan 2022
Dec 2021
Nov 2021
Oct 2021
Sep 2021
Aug 2021
Jul 2021
Jun 2021
May 2021
Apr 2021
Mar 2021
Feb 2021
Jan 2021
Dec 2020
Nov 2020
Oct 2020
Sep 2020
Jul 2020
Jun 2020
May 2020
Apr 2020
Mar 2020
Feb 2020
Jan 2020
Dec 2019
Oct 2019
Aug 2019
Jun 2019
May 2019
Mar 2019
Jan 2019
Dec 2018
Oct 2018
Aug 2018
Jun 2018
Apr 2018
Jan 2018
Oct 2017
Aug 2017
Jun 2017
May 2017

